



Totebag Painting & Calligraphy in Singapore
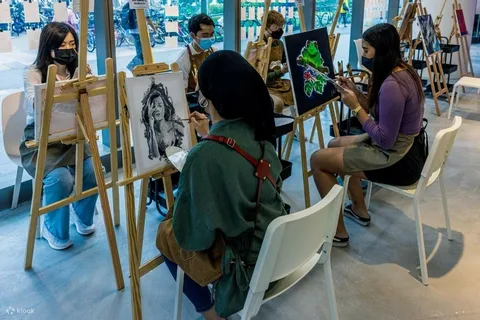
This workshop will teach you how to make your own totebag. You’ll learn the basics of calligraphy and then paint it on a totebag that you will take home with you at the end of the workshop.
The most important part is the lettering. You might be nervous, but don’t worry! Calligraphy is very beautiful and it’s easier than you think. The instructor will show you how to hold your pen and which direction the strokes go in. You’ll find that within a few minutes, you’ll be writing like a pro.
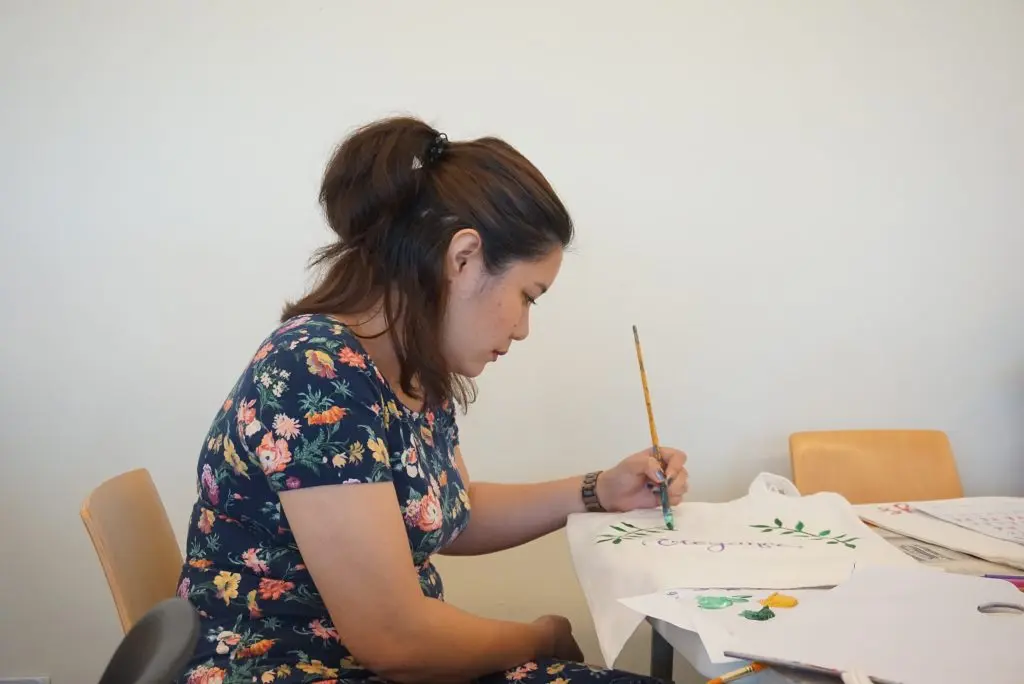
You’ll have plenty of time to perfect your skills and create a beautiful design. You can draw flowers or you can write out a quote with lettering.
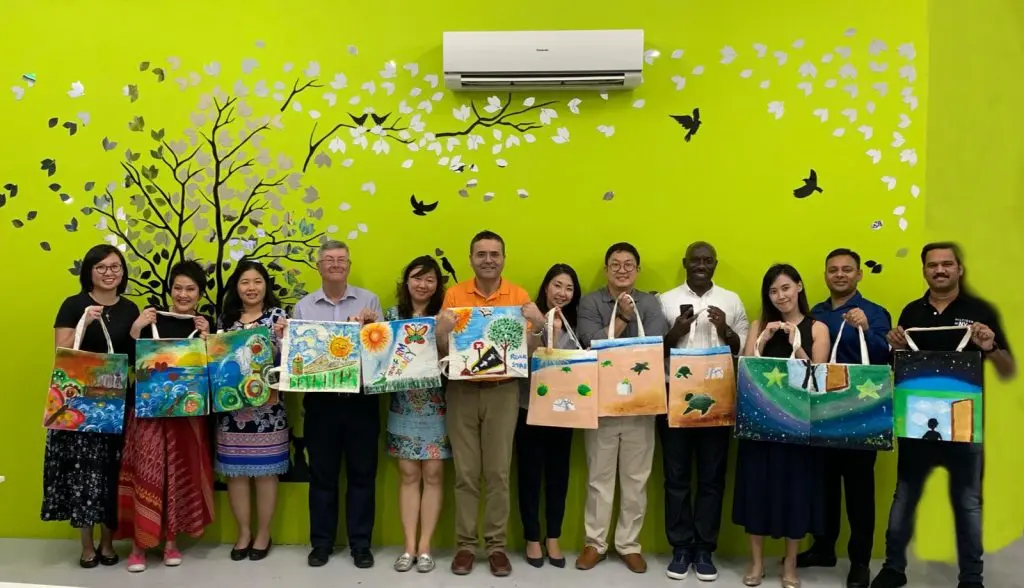
At the end of this workshop, you will go home with a custom-made totebag that you painted yourself. This is the perfect way to show off your love for calligraphy.
Six Things You Didn’t Consider When Painting a Totebag
A popular project in recent years is painting totebags. The popularity of this project has led to mass production and availability for anyone who may want to participate. There are many different ways to paint a totebag, which can make it very easy and possible for any person who wants to participate. The following are six things you may not be considering when painting a totebag:
- Paint can take up quite a bit of space and needs plenty of ventilation. If there is not enough space, and if the area is small and stuffy, it will take longer for the paint fumes to dissipate. The paint you choose also requires ventilation; some colors are toxic (like lead) and any paint will take longer to dry in a smaller area.
- Paintbrushes can take up quite a bit of space, depending on what you are using. Some brushes are fairly small, but others are fairly large to accommodate the wide weight of fabric that needs to be painted with it. If there is no room or surface for your brushes to dry, they can get bristles that may become gooey and unusable. If you have a large piece of fabric, it might be helpful to use smaller brushes.
- The paint needs time to dry between coats (this is especially true with acrylic paint). It will also take longer if there is less ventilation (airflow) or if it is a smaller area. The paint can then accumulate on the palette, ruining it for further use.
- Painting with fabric paint involves more steps than painting with watercolor paint; you need to allow time for drying between each step in order to get the desired effect. If you are painting letters, you need to allow more time for drying than if paint is painted all over. Also, it might be helpful to use a primer before painting with fabric paint.
- Some paints are made specifically for certain types of surfaces; this includes fabric and non-fabric surfaces. If you’re using a type of paint that is not intended for fabric, it might be harmful to the fabric. It might also not dry as fast or may take more than one application to achieve full opacity.
- Painting on a non-flat surface (like a totebag) involves trickier techniques that can be difficult without prior experience or guidance. However, there are many ways of painting on any surface and should not deter you from trying it out.
Totebag Painting
The first thing you want to do is give your fabric a few coats of paint, allowing each coat to dry before adding the next one. If the base color for your letters does not completely cover, allow it to dry, and then add more coats after this step (until the fabric is thoroughly opaque). Once you have given the fabric enough coats of paint, it is time to add some shading.
Write out your desired phrase in pencil (so that you know what letters to write) and then outline them in black Sharpie. You can do this freehand with simple shapes if you are not confident in your lettering skills. Outline the letters with black Sharpie, and then fill it in with a color you like (this is where stencils come in handy). It’s best to start with simple designs before trying anything too detailed or specific.
Why should you come to this workshop
You should come to this workshop because it will give you the opportunity to make your own totebag with calligraphy. You will learn the basics of some basic calligraphy techniques before you paint them on the bag using acrylic paints. At the end of this workshop, you will take your bag with you that contains all of these beautiful paintings.
Calligraphy is writing with a paintbrush. It requires some hand and arm strength as well as some finesse with the brush to create beautiful strokes and letterforms. Some of the calligraphy techniques taught at the workshop include dry brushing, using a fine point marker, and using a chisel edge pen.
In conclusion, Totebag Painting & Calligraphy in Singapore is a workshop that gives you the opportunity to make your own. You will learn calligraphy and then paint it on a totebag where you can take home with you at the end of the workshop. This event is great for people who are looking for an interesting activity they can do during their staycation or enjoy as part of their weekend activities.